正在加载图片...

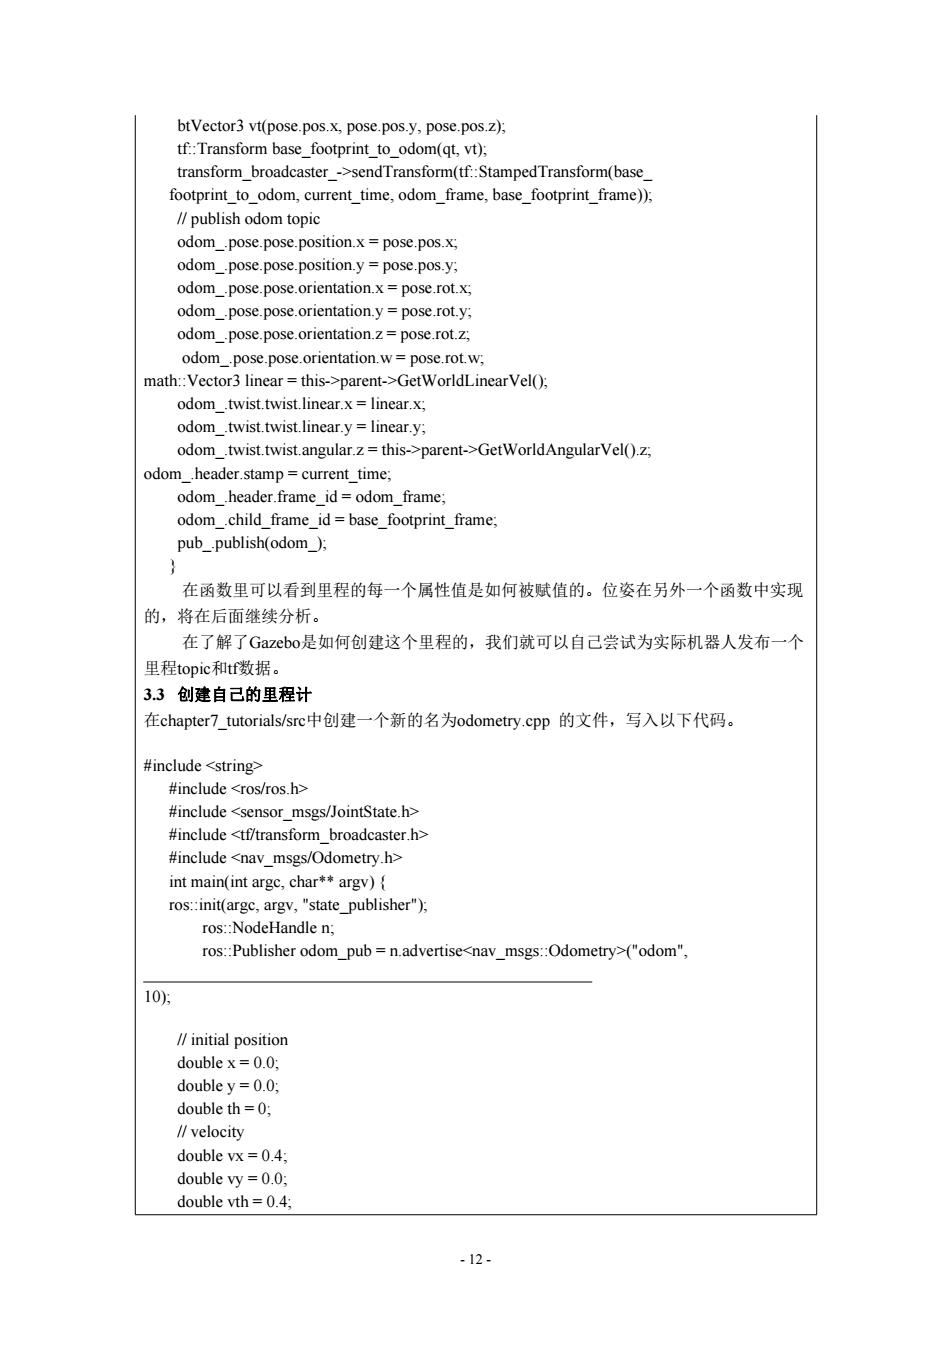
btVector3 vt(pose.pos.x,pose.pos.y,pose.pos.z); tf::Transform base footprint to_odom(qt,vt); transform_broadcaster_->sendTransform(tf::StampedTransform(base footprint to odom,current time,odom_frame,base_footprint_frame)); ∥publish odom topic odom_.pose.pose.position.x=pose.pos.x; odom_.pose.pose.position.y=pose.pos.y; odom_.pose.pose.orientation.x=pose.rot.x; odom_pose.pose.orientation.y=pose.rot.y; odom_pose.pose.orientation.z=pose.rot.z; odom_pose.pose.orientation.w=pose.rot.w; math::Vector3 linear this->parent->GetWorldLinear Vel(); odom .twist.twist.linear.x linear.x; odom.twist.twist.linear.y=linear.y; odom .twist.twist.angular.z=this->parent->GetWorldAngularVel().z; odom.header.stamp=current time; odom .header.frame id=odom frame; odom .child frame id=base footprint frame; pub.publish(odom ) 在函数里可以看到里程的每一个属性值是如何被赋值的。位姿在另外一个函数中实现 的,将在后面继续分析。 在了解了Gazebo是如何创建这个里程的,我们就可以自己尝试为实际机器人发布一个 里程topic和tf数据。 3.3创建自己的里程计 在chapter7 tutorials/src中创建一个新的名为odometry.cpp的文件,写入以下代码。 #include <string> #include <ros/ros.h> #include <sensor_msgs/JointState.h> #include <tf/transform_broadcaster.h> #include <nav msgs/Odometry.h> int main(int argc,char**argv){ ros::init(argc,argv,"state publisher"); ros::NodeHandle n; ros::Publisher odom_pub=n.advertise<nav_msgs::Odometry>("odom", 10)片 /∥initial position double x=0.0; double y=0.0; double th=0; ∥velocity double vx =0.4: double vy =0.0; double vth=0.4; -12-- 12 - btVector3 vt(pose.pos.x, pose.pos.y, pose.pos.z); tf::Transform base_footprint_to_odom(qt, vt); transform_broadcaster_->sendTransform(tf::StampedTransform(base_ footprint_to_odom, current_time, odom_frame, base_footprint_frame)); // publish odom topic odom_.pose.pose.position.x = pose.pos.x; odom_.pose.pose.position.y = pose.pos.y; odom_.pose.pose.orientation.x = pose.rot.x; odom_.pose.pose.orientation.y = pose.rot.y; odom_.pose.pose.orientation.z = pose.rot.z; odom_.pose.pose.orientation.w = pose.rot.w; math::Vector3 linear = this->parent->GetWorldLinearVel(); odom_.twist.twist.linear.x = linear.x; odom_.twist.twist.linear.y = linear.y; odom_.twist.twist.angular.z = this->parent->GetWorldAngularVel().z; odom_.header.stamp = current_time; odom_.header.frame_id = odom_frame; odom_.child_frame_id = base_footprint_frame; pub_.publish(odom_); } 在函数里可以看到里程的每一个属性值是如何被赋值的。位姿在另外一个函数中实现 的,将在后面继续分析。 在了解了Gazebo是如何创建这个里程的,我们就可以自己尝试为实际机器人发布一个 里程topic和tf数据。 3.3 创建自己的里程计 在chapter7_tutorials/src中创建一个新的名为odometry.cpp 的文件,写入以下代码。 #include <string> #include <ros/ros.h> #include <sensor_msgs/JointState.h> #include <tf/transform_broadcaster.h> #include <nav_msgs/Odometry.h> int main(int argc, char** argv) { ros::init(argc, argv, "state_publisher"); ros::NodeHandle n; ros::Publisher odom_pub = n.advertise<nav_msgs::Odometry>("odom", 10); // initial position double x = 0.0; double y = 0.0; double th = 0; // velocity double vx = 0.4; double vy = 0.0; double vth = 0.4;