正在加载图片...
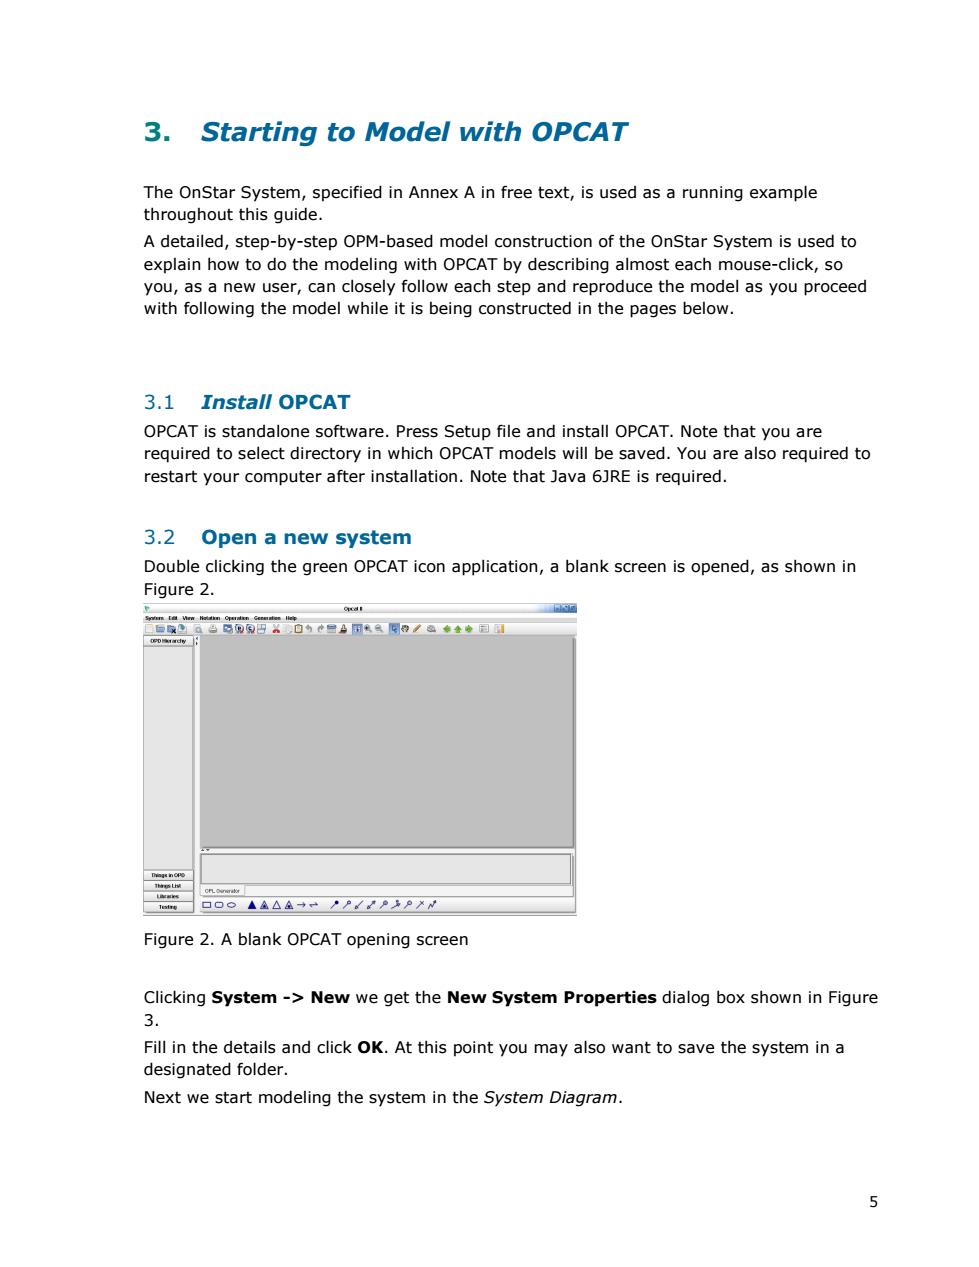
3.Starting to Model with OPCAT The OnStar System,specified in Annex A in free text,is used as a running example throughout this guide. A detailed,step-by-step OPM-based model construction of the OnStar System is used to explain how to do the modeling with OPCAT by describing almost each mouse-click,so you,as a new user,can closely follow each step and reproduce the model as you proceed with following the model while it is being constructed in the pages below. 3.1 Install OPCAT OPCAT is standalone software.Press Setup file and install OPCAT.Note that you are required to select directory in which OPCAT models will be saved.You are also required to restart your computer after installation.Note that Java 6JRE is required. 3.2 Open a new system Double clicking the green OPCAT icon application,a blank screen is opened,as shown in Figure 2. 回O⊙▲鱼△鱼→PP/PPN Figure 2.A blank OPCAT opening screen Clicking System->New we get the New System Properties dialog box shown in Figure 3. Fill in the details and click OK.At this point you may also want to save the system in a designated folder. Next we start modeling the system in the System Diagram. 55 3. Starting to Model with OPCAT The OnStar System, specified in Annex A in free text, is used as a running example throughout this guide. A detailed, step-by-step OPM-based model construction of the OnStar System is used to explain how to do the modeling with OPCAT by describing almost each mouse-click, so you, as a new user, can closely follow each step and reproduce the model as you proceed with following the model while it is being constructed in the pages below. 3.1 Install OPCAT OPCAT is standalone software. Press Setup file and install OPCAT. Note that you are required to select directory in which OPCAT models will be saved. You are also required to restart your computer after installation. Note that Java 6JRE is required. 3.2 Open a new system Double clicking the green OPCAT icon application, a blank screen is opened, as shown in Figure 2. Figure 2. A blank OPCAT opening screen Clicking System -> New we get the New System Properties dialog box shown in Figure 3. Fill in the details and click OK. At this point you may also want to save the system in a designated folder. Next we start modeling the system in the System Diagram