正在加载图片...

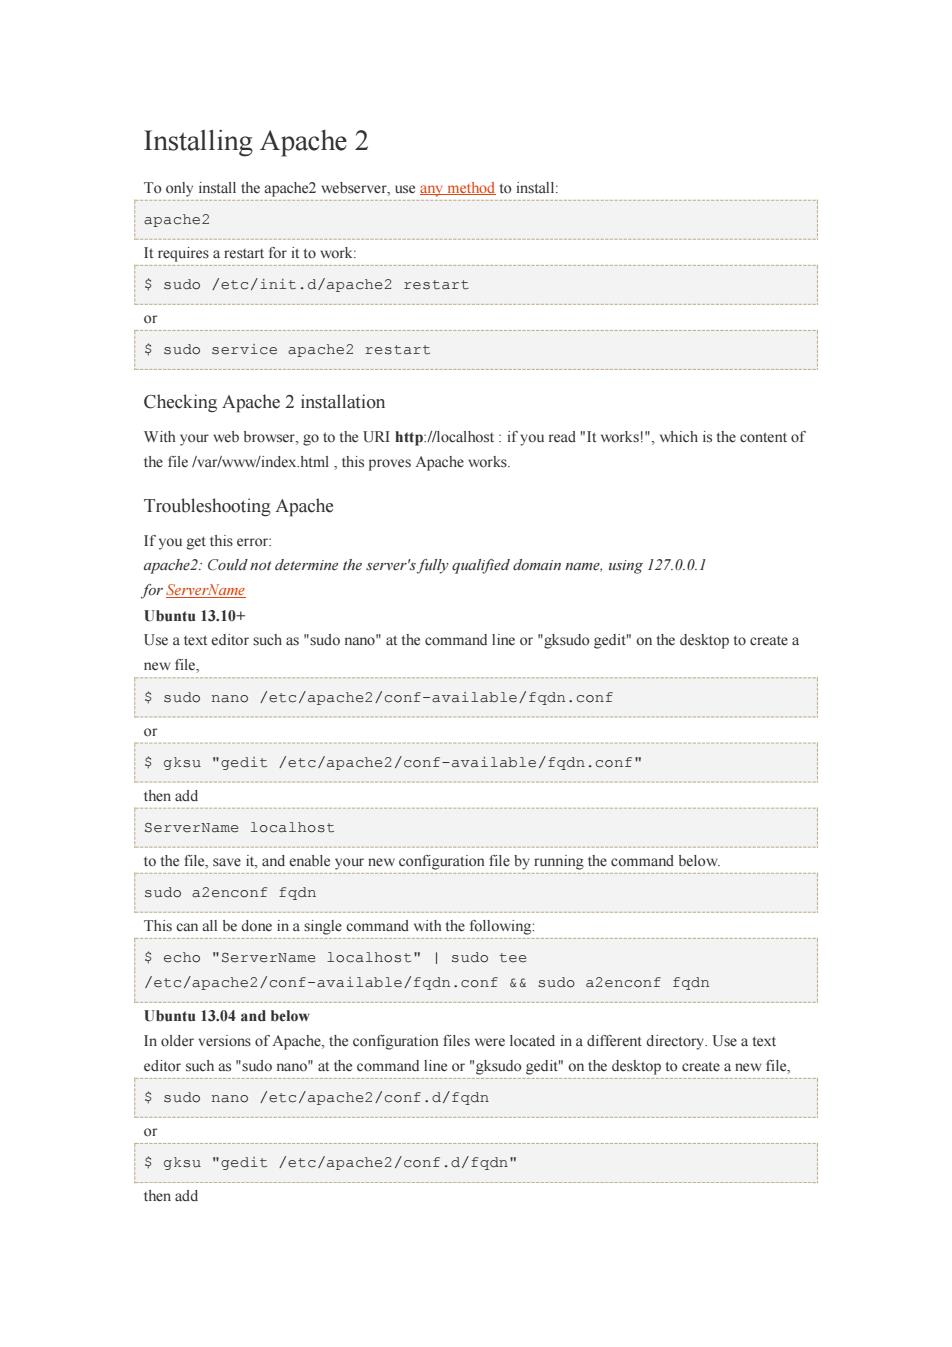
Installing Apache 2 Toony install the apache2 webserver,usen method to install apache2 It requires a restart for it to work: sudo /etc/init.d/apache2 restart or s sudo service apache2 restart Checking Apache 2 installation With your web browser,go to the URI http://localhost:if you read"It works!"which is the content of the file /var/www/index.html,this proves Apache works. Troubleshooting Apache If you get this error apache2:Could not determine the server's fully qualified domain name.using 17.0.0.1 Ubuntu 13.10+ Use a text editor such as "sudo nano"at the command line or "gksudo gedit"on the desktop to create a new file. s sudo nano /etc/apache2/conf-available/fqdn,conf Or s gksu "gedit /etc/apache2/conf-available/fqdn.conf" then add serverName localhost to the file,save it.and enable your new configuration file by running the command below. sudo a2enconf fadn This can all be done in a single command with the following: s echo "ServerName localhost"I sudo tee /etc/apache2/conf-available/fgdn.conf &sudo a2enconf fqdn Ubuntu 13.04 and below In older versions of Apache,the configuration files were located ina different directory.Use a text editor such as"sudo nanoat the command lineor"gksudo gedit"on the desktop to create a new file sudo nano /etc/apache2/conf.d/fgdn Or s gksu "gedit /etc/apache2/conf.d/fqdn" then add Installing Apache 2 To only install the apache2 webserver, use any method to install: apache2 It requires a restart for it to work: $ sudo /etc/init.d/apache2 restart or $ sudo service apache2 restart Checking Apache 2 installation With your web browser, go to the URI http://localhost : if you read "It works!", which is the content of the file /var/www/index.html , this proves Apache works. Troubleshooting Apache If you get this error: apache2: Could not determine the server's fully qualified domain name, using 127.0.0.1 for ServerName Ubuntu 13.10+ Use a text editor such as "sudo nano" at the command line or "gksudo gedit" on the desktop to create a new file, $ sudo nano /etc/apache2/conf-available/fqdn.conf or $ gksu "gedit /etc/apache2/conf-available/fqdn.conf" then add ServerName localhost to the file, save it, and enable your new configuration file by running the command below. sudo a2enconf fqdn This can all be done in a single command with the following: $ echo "ServerName localhost" | sudo tee /etc/apache2/conf-available/fqdn.conf && sudo a2enconf fqdn Ubuntu 13.04 and below In older versions of Apache, the configuration files were located in a different directory. Use a text editor such as "sudo nano" at the command line or "gksudo gedit" on the desktop to create a new file, $ sudo nano /etc/apache2/conf.d/fqdn or $ gksu "gedit /etc/apache2/conf.d/fqdn" then add